We change the show customer use case slightly, so that we can also
edit the customer in the customer_show.ui form.
Let's first make a copy of customer_show.ui
and name it customer_edit.ui.
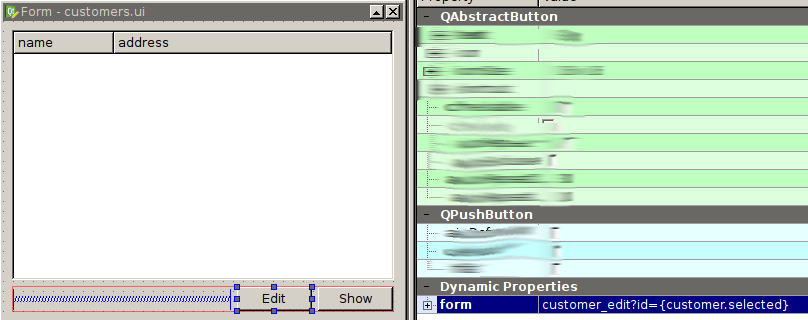
As before we add first a "Edit" button to the
customers.ui with 'forms'
set to:
customer_edit?id={customer.selected}

We change the form customer_edit.ui
and remove the line with 'ID' as we don't need it anymore
and because nobody should be able to edit the id of
a customer and change it! We also add another button and label
it 'Save', for this button we set 'action' to generate a
'CustomerUpdate' request:
CustomerUpdate customer {
    id={main.id};
    name {{main.name}};
    address {{main.address}}
}
We also set 'form' to 'customers', so the user gets taken back to the changed list of customers when saving the current record:

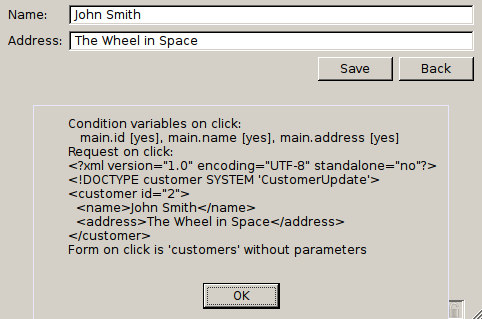
The resulting 'CustomerUpdate' XML request looks as follows:
<?xml version="1.0" encoding="UTF-8"?>
<!DOCTYPE customer SYSTEM 'CustomerUpdate'>
<customer id="2">
    <name>John Smith</name>
    <address>The Wheel in Space</address>
</customer>
Similar to to the "show customer" case we add now a new command mapping
in tutorial.dmap:
COMMAND CustomerUpdate CALL UpdateCustomer;
We also add a simple form 'CustomerUpdate' to Customer.sfrm
which looks very similar to the 'Customer' form:
FORM CustomerUpdate
    -root customer
{
    id !@string
    name string
    address string
}
Finally we write the transaction function 'CustomerUpdate' in
Customer.tdl:
TRANSACTION UpdateCustomer
BEGIN
    DO UPDATE Customer SET name=$(name), address=$(address)
        WHERE id=$(id);
END
Note, that this time the database transaction doesn't return a result.
Restart server and client and start to edit the customers.
In debug mode in wolfclient we can right-click on the "Save" button and we pick the menu item "Debug: Inspect commands". Then we get a dialog box which shows us the status of the widget elements and how the XML request looks like which would be sent down to the server:
